I’ve been making really tasty artisan gluten-free sourdough bread for a while now. My partner also loves pizza, and this was what inspired me to get back into baking in the first place. This recipe makes pizza with crust that’s chewy, crisp, and deliciously sour. It’s worth the preparation!
This will make enough dough for three 10-inch pizzas.
Equipment
Yes, the equipment does matter. The two critical ingredients for me are the baking steel and the pizza peel.
- Baking Steel – this is like a pizza stone, but it’s made of a single 1/4″ slab of steel. It’s amazing! Because of its conductivity, you can bake a pizza in your regular home oven that tastes almost like it was made in a wood-fired oven. Essential.
- Metal pizza peel with wood handle – another must-have tool, this allows you to slide the pizza on and off the baking steel easily. (The edges of this one were razor sharp– I used some fine-grit sandpaper to round them off so I wouldn’t get cut.)
- Small pizza roller – optional, but makes it easy to roll out the pizza crust. Regular rolling pins and throwing don’t work since gluten-free dough is a different consistency than wheat dough.
- Stainless steel dough scraper – to lift up the edges of the dough.
- Stainless steel cooling racks – helps the pizza stay crispy.
- Pizza cutter – optional, but useful for making nice cuts. Some people use kitchen scissors.
Ingredients
- A single batch of bread dough as described in the Amazing Gluten-free Sourdough Bread Recipe. I think the taste is best when fermented 3-4 days, but you can make it right away, or let ferment in the fridge 1-5 days. (After 5 days it won’t be edible.)
- Extra gluten-free flour to use while working the pizza (I use Bob’s Red Mill 1-1 Baking Flour)
- Pizza sauce – I make mine from scratch using this easy recipe.
- Toppings
Instructions
- Put the baking steel into the oven at 550F (or as high as it will go if it doesn’t go that high) for one hour. This will heat the baking steel up so it can make great pizza crust.
- When the baking steel is heated, get the dough out of the refrigerator and divide it into 100g portions and shape into balls.
- Put some gluten-free flour onto the counter so the dough won’t stick.
- Put down a dough ball and shape it into a puck– a fat disk of dough. Put some more flour on top of the puck and turn it over. Put some more flour onto it.
- Now use the roller to form the dough into a pizza shape. Leave a little raised area around the edge of the pizza to hold the sauce. Make the pizza thin, but not so thin it will rip when you slide the peel under it.
- Dock the pizza dough with a fork all over. This means: use a fork to make little impressions or holes in the dough all over, including the crust. Don’t poke holes all the way through– you just want impressions. This will let steam escape when par-baking.
- Use the dough scraper to free the edges of the dough all the way around the circumference.
- Turn the oven onto broil for about 5 minutes to add extra heat to the baking steel. Then turn back down to 550F.
- Carefully slide the peel under the dough so it’s all on the peel.
- Put the dough into the oven on the steel. You’ll have to practice the motion a little bit to get it right so it lands on the steel in the center without wrinkling.
- Par-bake for about 10 minutes, or until the crust is golden-brown and not burning in the center.
- Take the crust out of the oven and set the peel and crust on the counter together. Don’t take the crust off the peel.
- Top the pizza with sauce or pesto and your toppings.
- Lift the peel and shake the pizza a bit to make sure it’s not sticking to the peel so you know it will come off in the oven. If it doesn’t move, use the dough scraper to free the edges and try again. Get it right here, it will be a disaster if it doesn’t come off the peel when you are trying to get it onto the Baking Steel!
- Use the peel to put the topped pizza back onto the baking steel and bake for another 5-10 minutes, or until the cheese is melted and the toppings are heated all the way.
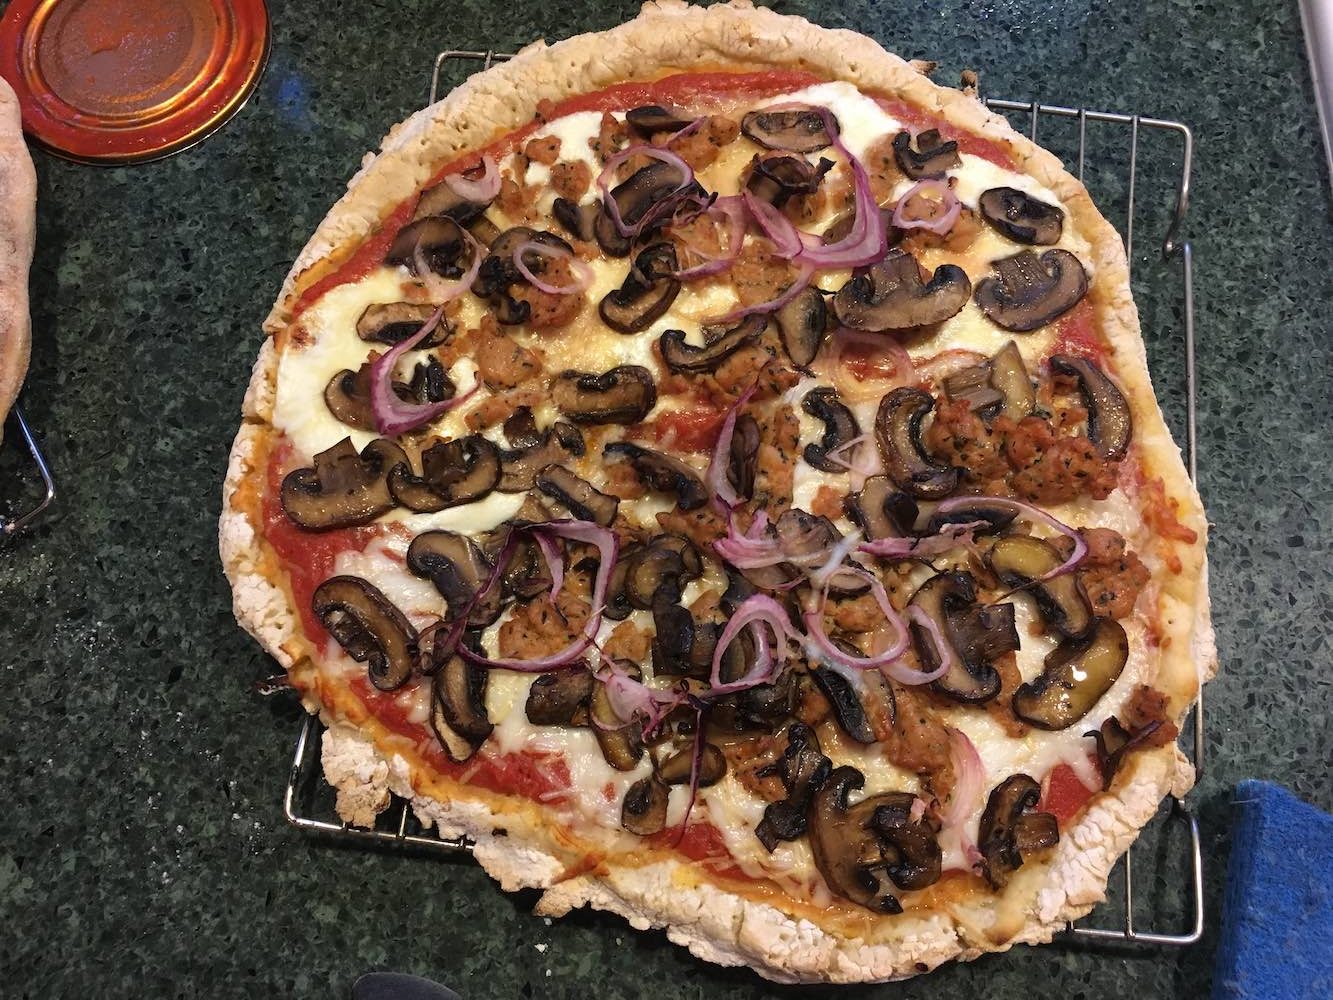
- Use the peel to take the pizza and put it on a cooling rack for 5-10 minutes. This is important so the crust doesn’t get soggy! Don’t put it straight onto a cutting board or a countertop.
- After the pizza has cooled sufficiently, cut with a pizza cutter and enjoy!