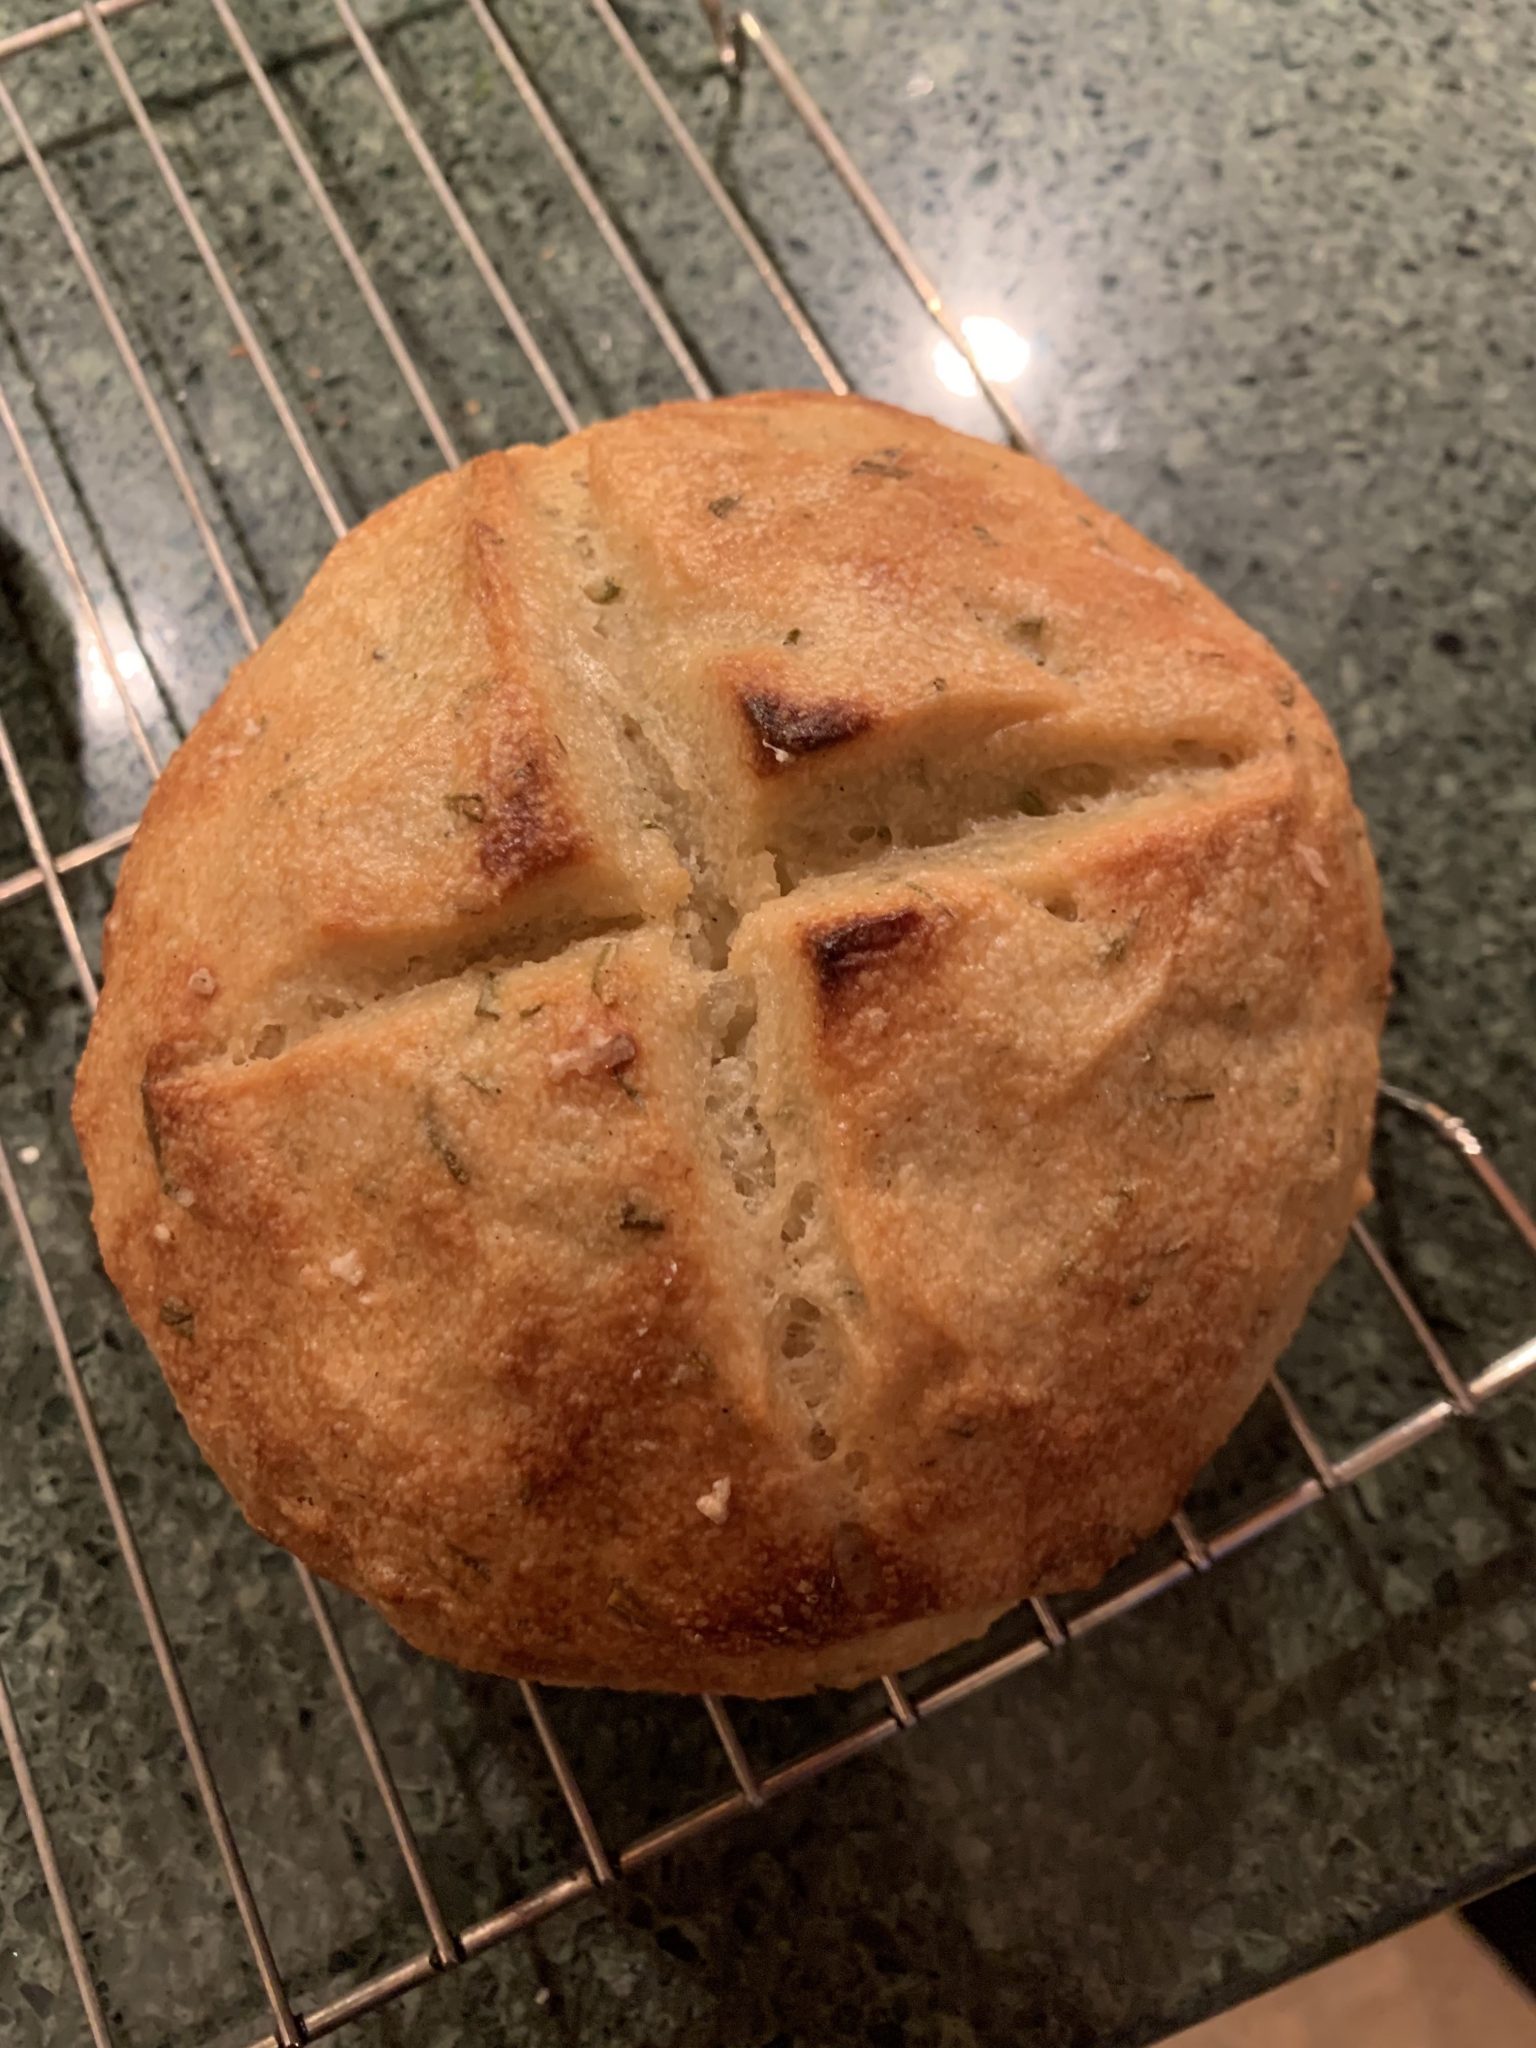
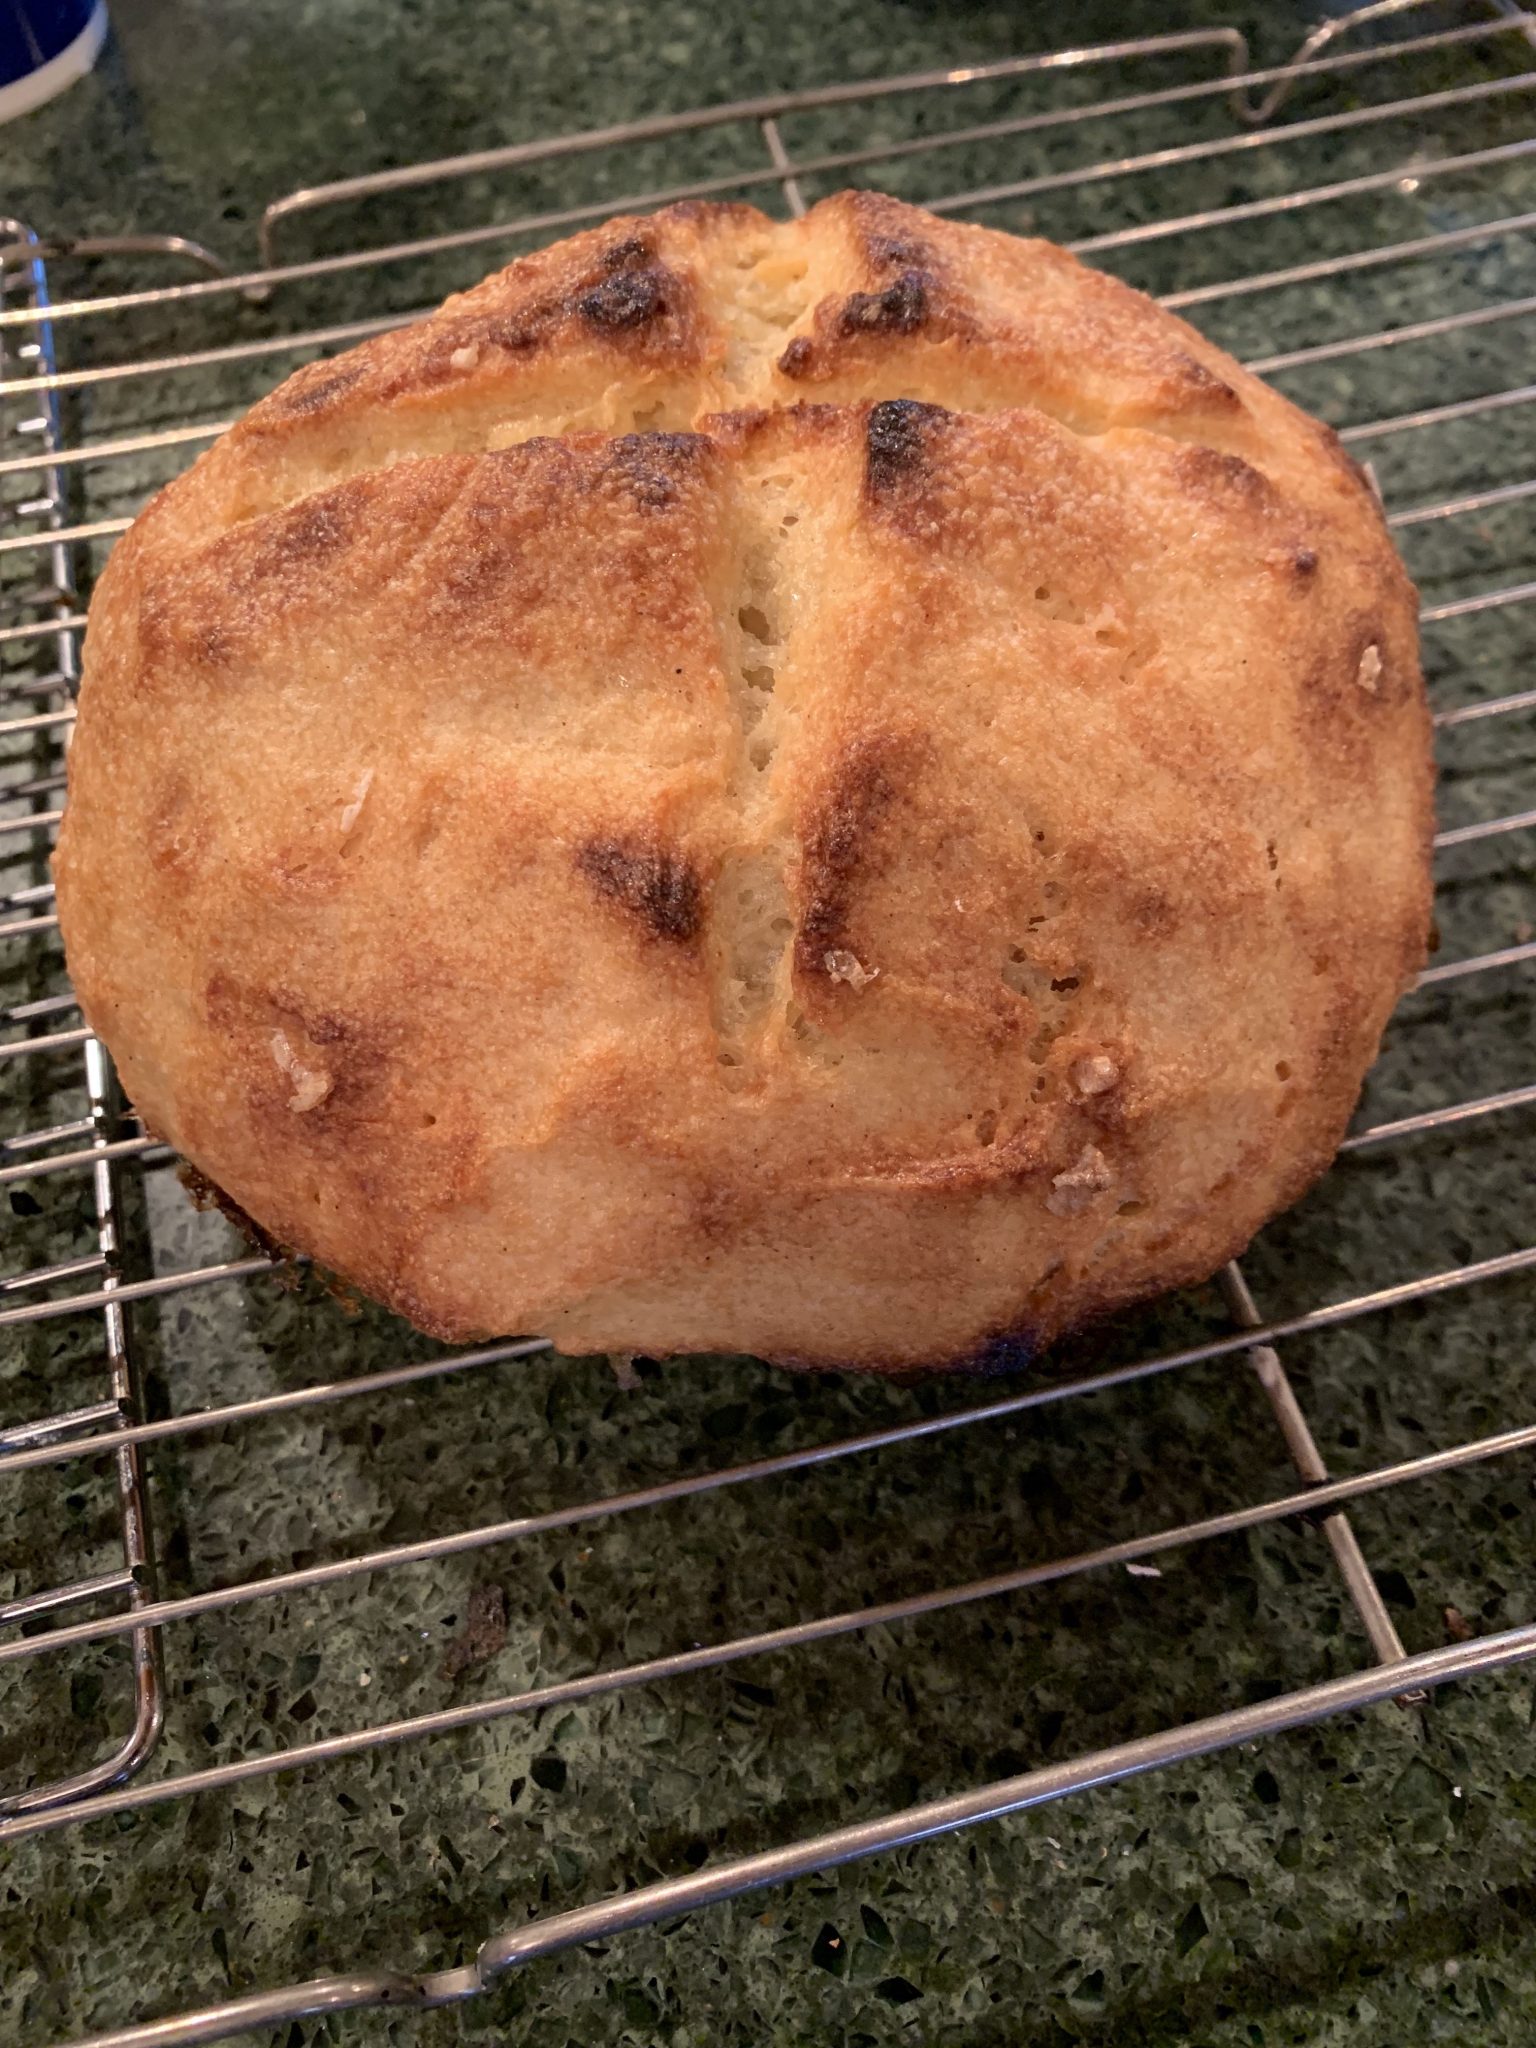
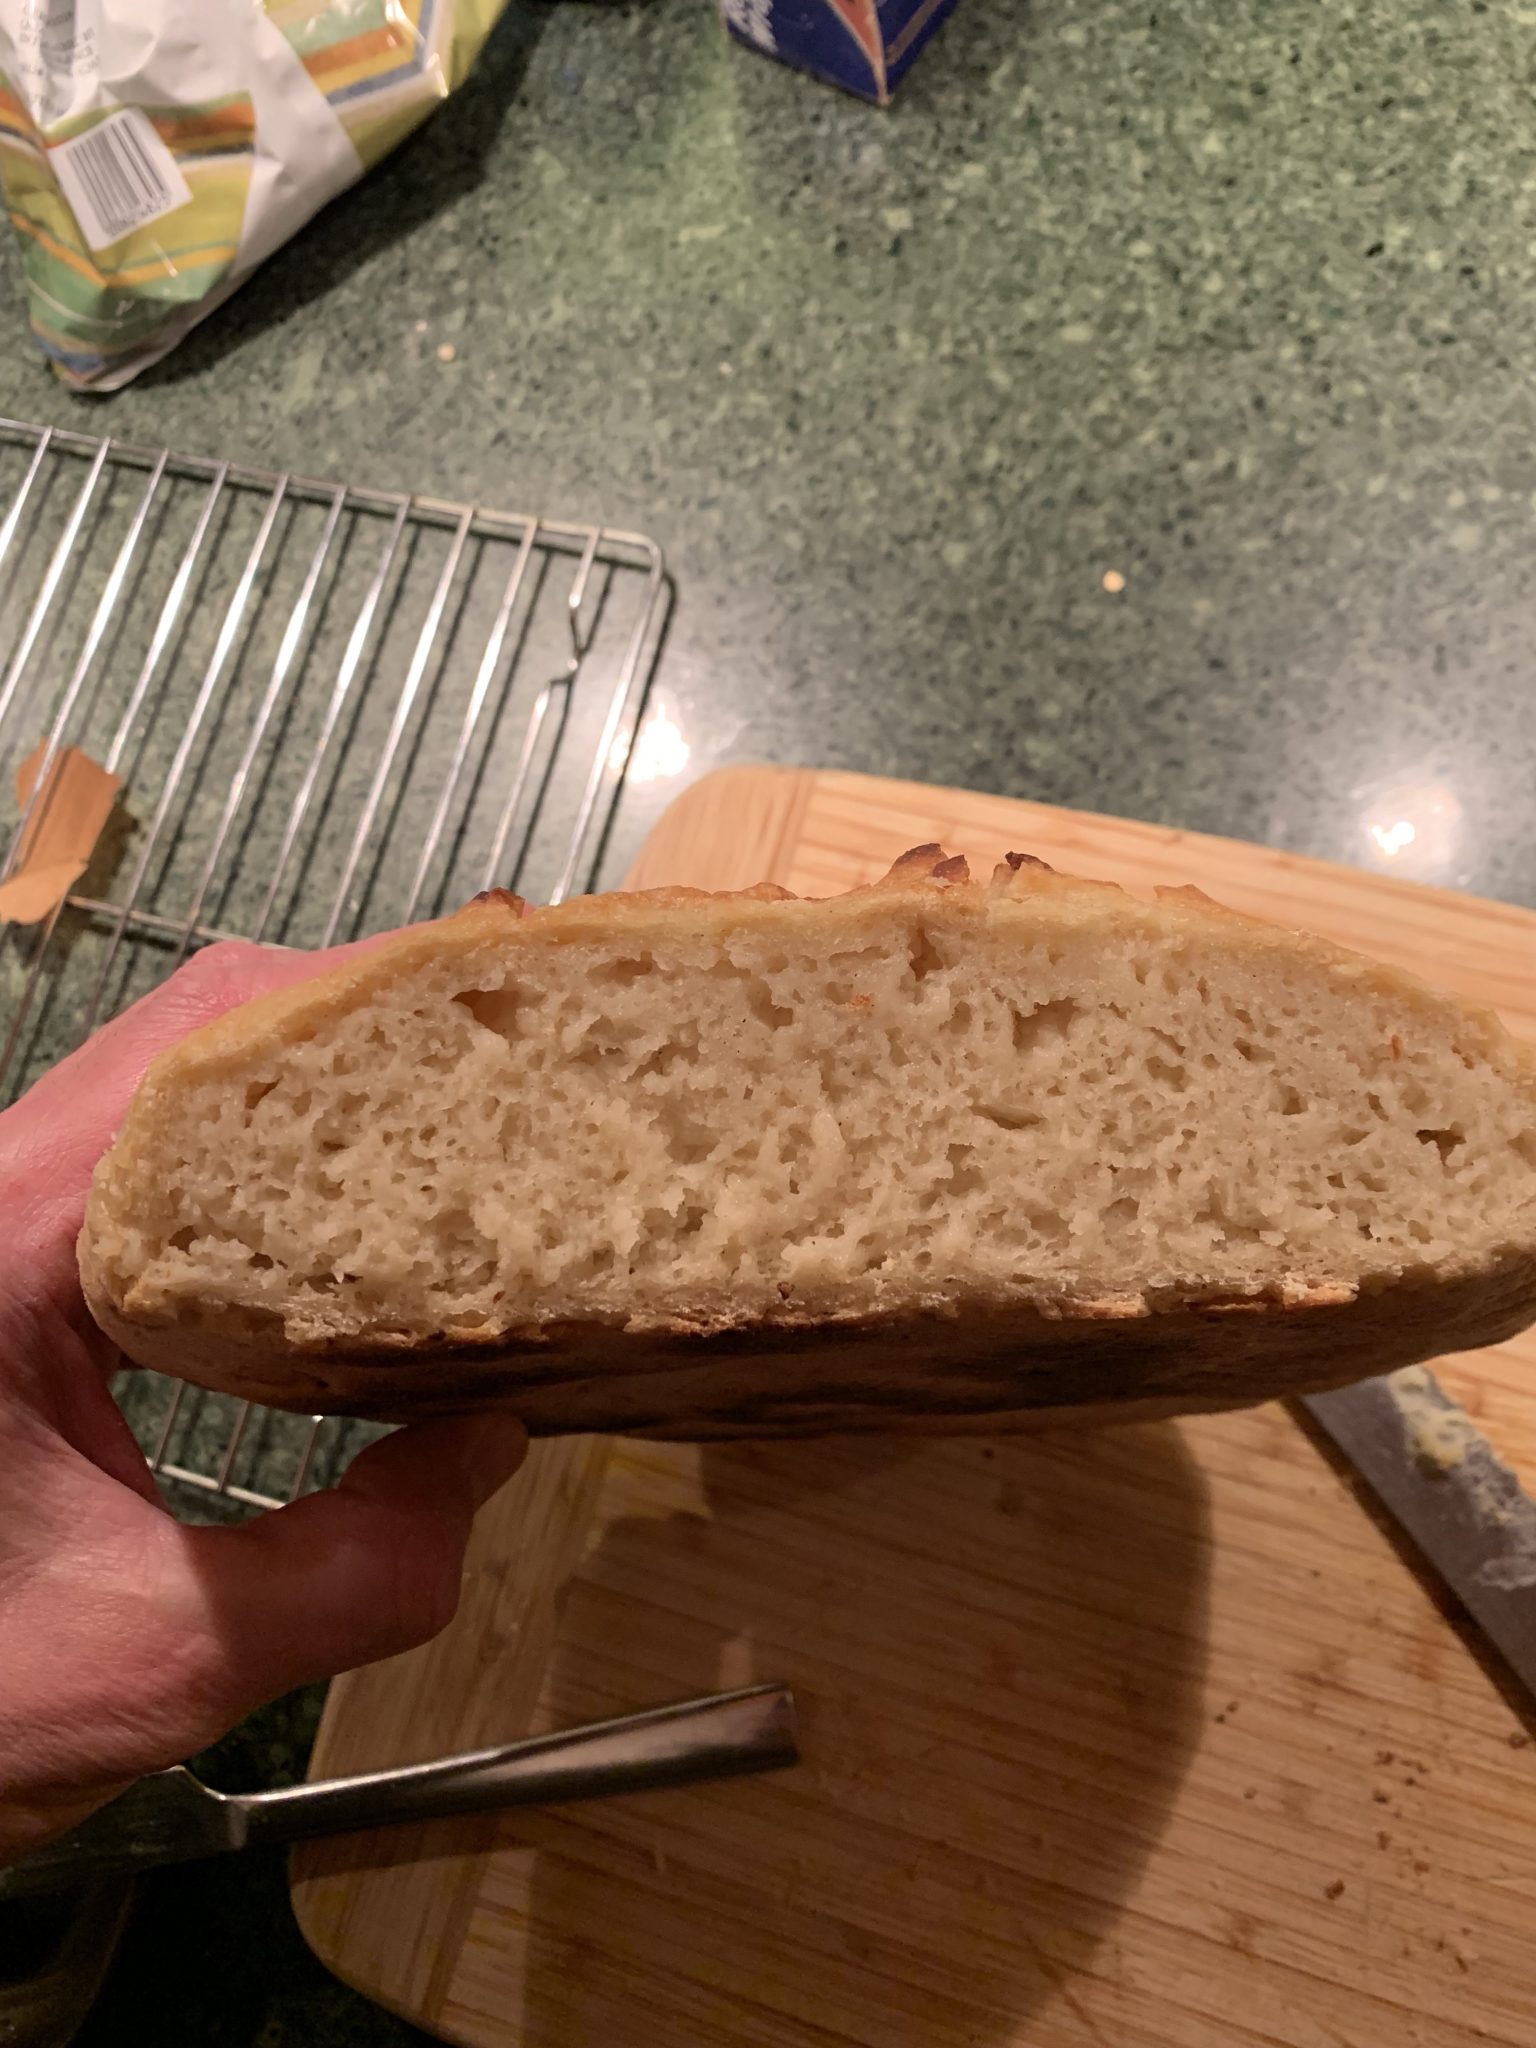
My partner is gluten-free and complained that she really missed good artisan, crusty sourdough bread. I said, well, that’s a problem that can be solved. I’m a home bread baker. So here’s my take on how to make it. My partner says it’s the best bread she’s ever tasted, and it happens to also be gluten-free. It’s chewy with a real artisan crust. Eating it, she doesn’t miss wheat bread at all. I don’t either.
There’s nothing like having a house filled with the smell of baking bread. We make this every few weeks now, and slice it and freeze it, and so can have crusty gluten-free bread whenever we want.
Sourdough bread is easy to make, but it does take thinking ahead a bit– you have to prepare the sourdough starter the day before you make the dough, then you let it ferment at room temperature overnight. To get sour-tasting bread with good flavor, you then need to let it cold-ferment in the fridge for a few days before baking. So it requires a different pace than just mixing up some ingredients and baking it on the spot. But taking the time is worth it!
Ingredients
- 2 cups of active gluten-free sourdough starter (click the link to see how to make that, you’ll need to prepare it in advance)
- 1 cup filtered water (chlorine free)
- 3½ cups of gluten free bread flour mix – I use Bob’s Red Mill Gluten Free 1-to-1 All Purpose Baking Flour
- 2 tsp salt
- 1/8 cup fresh, chopped rosemary (optional)
- 3 eggs
For the top:
- Cyprus sea salt flakes or kosher salt (optional)
Equipment
- Stand mixer (KitchenAid 5 quart or similar)
- Lodge cast iron 5 quart Dutch Oven pan with lid – inexpensive and excellent! This keeps in the steam that makes a chewy crust.
- Baking parchment – helps the bread not stick to the pans making cleanup easier
- Silicon baking mitts to prevent burns when handling hot pans
- 4-quart container with a lid to let dough rise in (I use these BPA-free Cambro 4 quart containers)
- 2-quart container with a lid to let dough cold-ferment in (optional, but will take up less space in the refrigerator) (I use these BPA-free Cambro 2-quart containers)
- an instant-read thermometer for measuring the bread’s internal temperature while baking
- cooling racks to cool the bread on
- stainless steel cutter/scraper – aids with counter cleanup
Making the dough
- Take the sourdough culture out of the fridge.
- Discard most of your sourdough starter culture, leaving only a few tablespoons of culture in the bottom of the jar. Sourdough is a mixture of yeast and bacteria, and this helps let the good organisms grow and helps the culture stay in balance.
- Using a large spoon, mix the small amount of remaining sourdough starter with the additional water and flour (if using a 1 quart wide mouth mason jar, use a 1 cup gluten-free flour to 1 cup filtered water ratio). It should be the consistency of pancake batter.
- Leave the freshly mixed sourdough culture somewhere room-temperature to ferment for 4-12 hours. This activates the sourdough and gets it ready for baking.
- When the starter is ready, it should be full of bubbles and smell sour.
When the sourdough is ready:
- Crack the eggs into the mixer bowl and beat them. Mix in the salt. Wait one minute for the egg proteins to relax. This will help make bubbles in the bread.
- Now add the water. Mix some more.
- Now mix the sourdough starter into the beaten eggs. Use a stand mixer and paddle blade if possible– a stand mixer makes things easy, and will make the dough a smooth consistency, helping it have better texture when baked. If not using a mixer, the sourdough may be quite stiff, so you will really need to beat the egg-salt-water mixture into it.
- Now mix in the 2 cups of flour. Run the mixer 2-3 minutes at high speed until the dough is a smooth, even consistency with no lumps. It will be very wet at this stage.
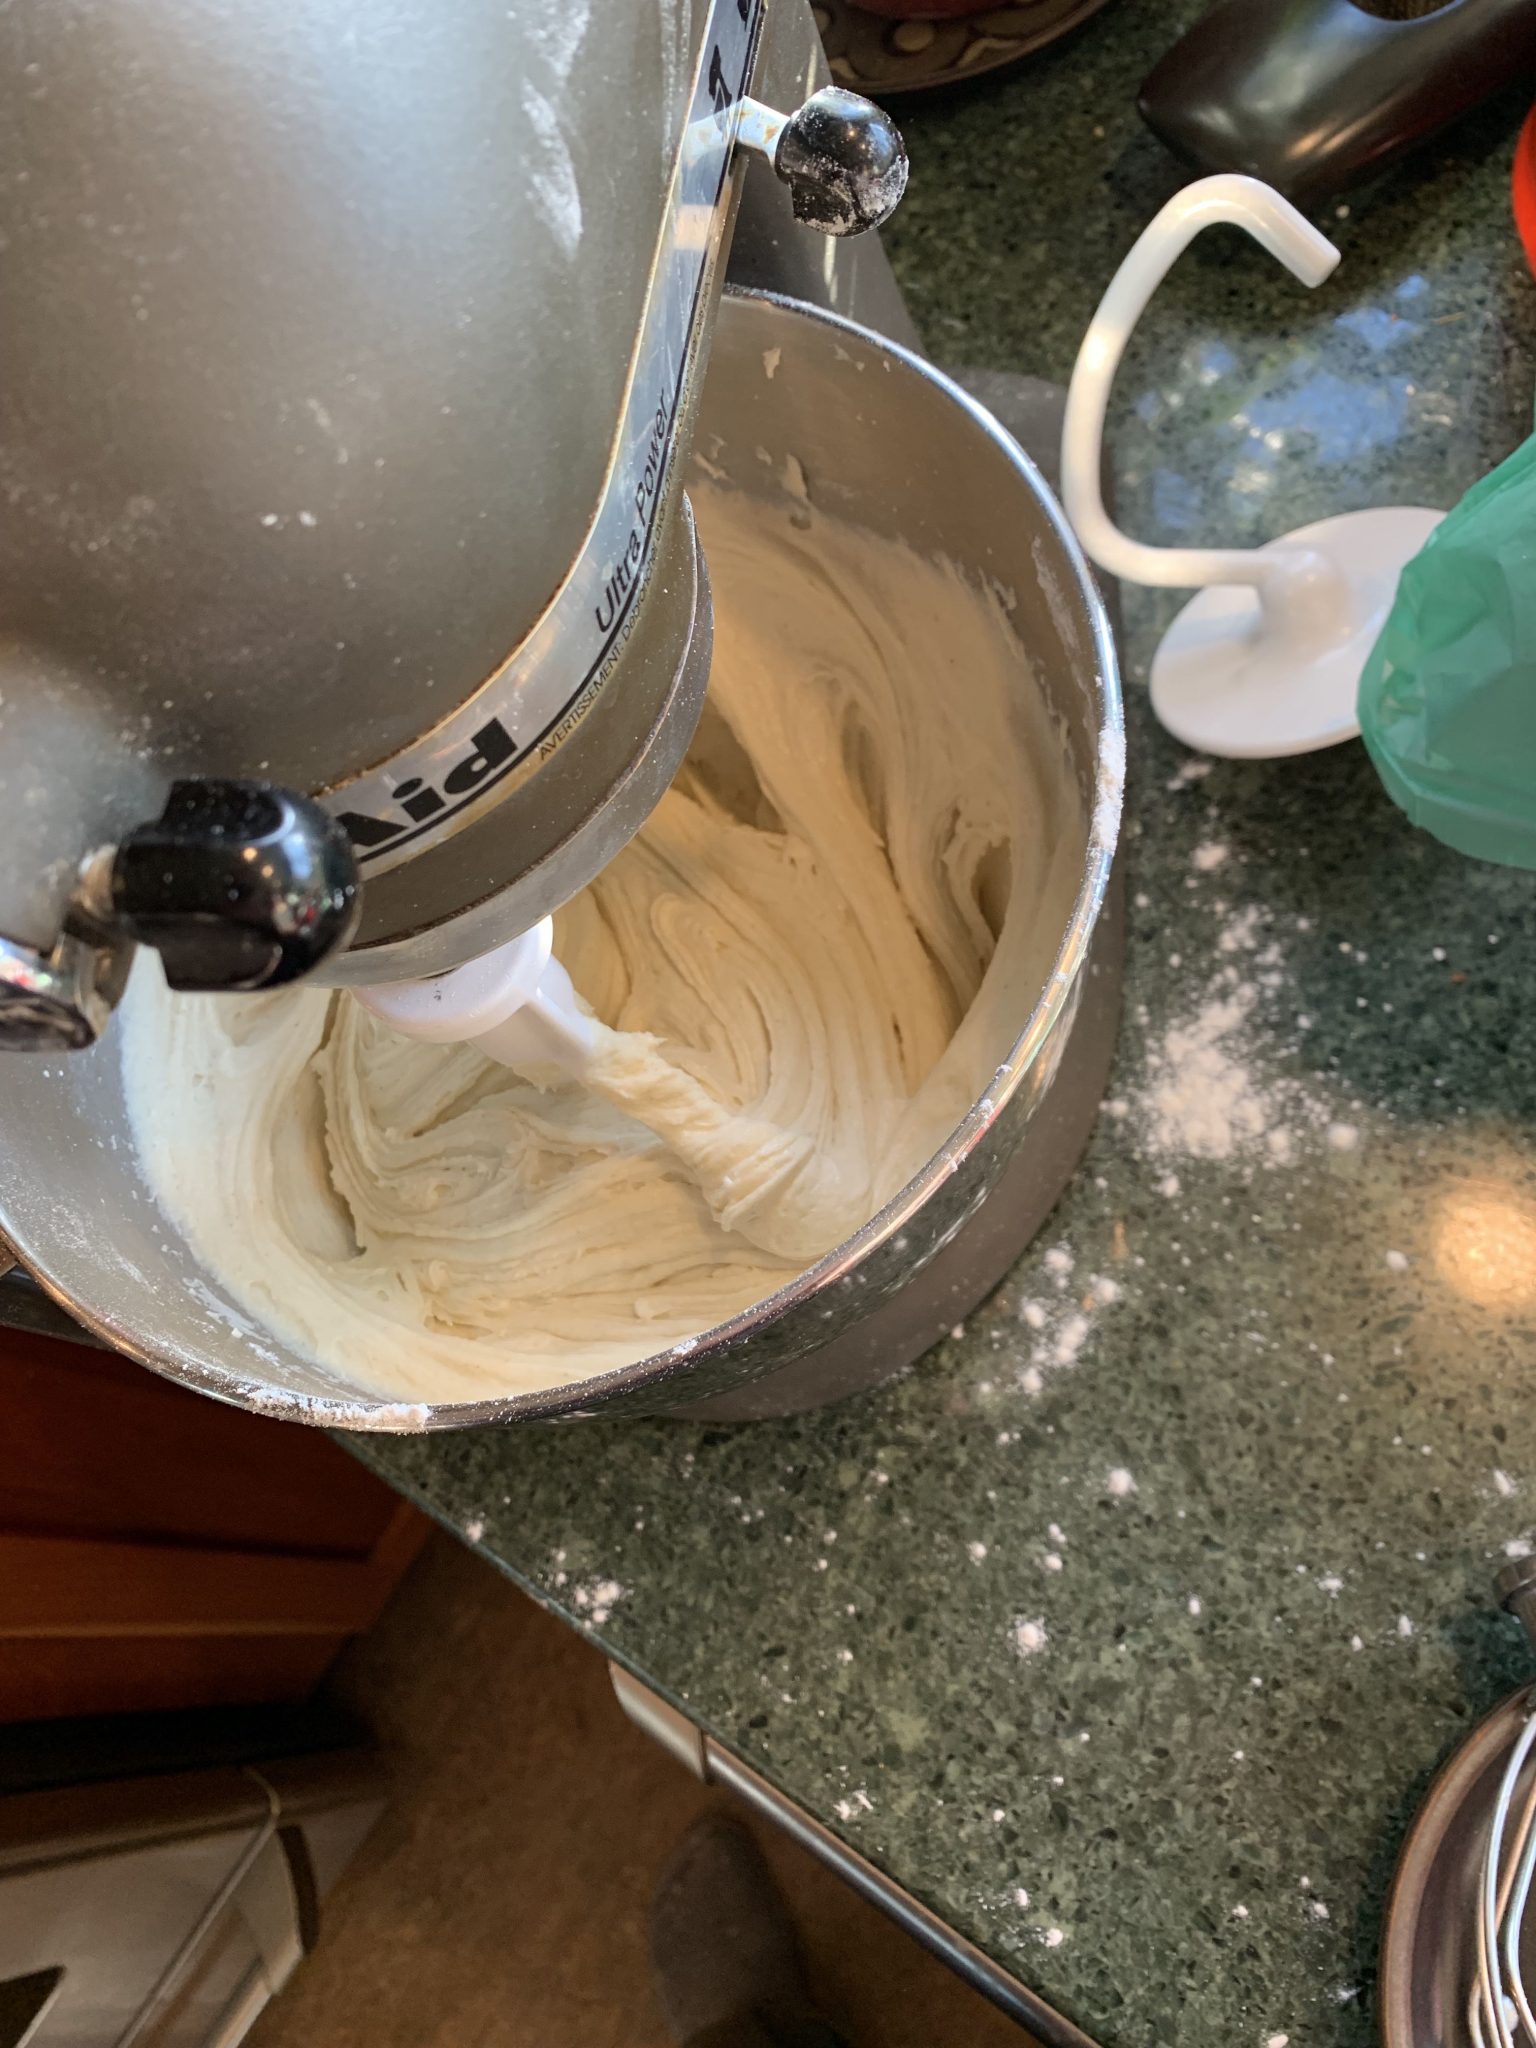
- Now mix in the remaining 1 1/2 cups of flour and mix again at high speed for several minutes. It should be wet and sticky but thick enough to hold its shape.
- If adding rosemary herbs, add them now and mix until the herbs are evenly distributed.
- Put the dough in the 4 quart container and cover with a lid.
- Let rise for 12-24 hours at room temperature. This is the initial souring.
- Optional: After the initial souring, place dough in a smaller, 2 quart container so it doesn’t take up so much space in the fridge.
- Cold ferment in the refrigerator for 4 days. This will give the dough a very nice sour taste. You can experiment with varying cold-fermentation times for your taste. I found that 1 day wasn’t enough, but after 5 days the bread didn’t taste good.
- Always put a strip of masking tape on the bread dough container, and label it with the day you made it so you can determine later how old the dough is. This will be important when deciding when to bake it or if you need to know if the dough is still good.
When ready to bake the bread:
- This makes two boules.
- Put some parchment paper down.
- Take half the dough, form into a boule (ball), and with wet hands, smooth the dough the ball until it is completely smooth. This helps keep the gas in.
- Put the ball on the parchment paper.
- Trim the parchment paper in circle leaving about 1 1/2 inches of parchment sticking out from the boule. This gives you enough paper to easily pick up the dough, but not too much to burn or get stuck in the lid and let the steam out.
- Put a large bowl over over the boule and let it rest while the oven is heating, one hour (it won’t rise much).
- Meanwhile, heat a Lodge 5qt. Dutch Oven in a 550F oven for 45 minutes. (Or set the temperature as high as your oven will go if it doesn’t get to 550F.)
- After 45 minutes, make a cross-shaped score on the top of the loaf, sprinkle with crushed pyramid salt or kosher salt, and press salt into the bread.
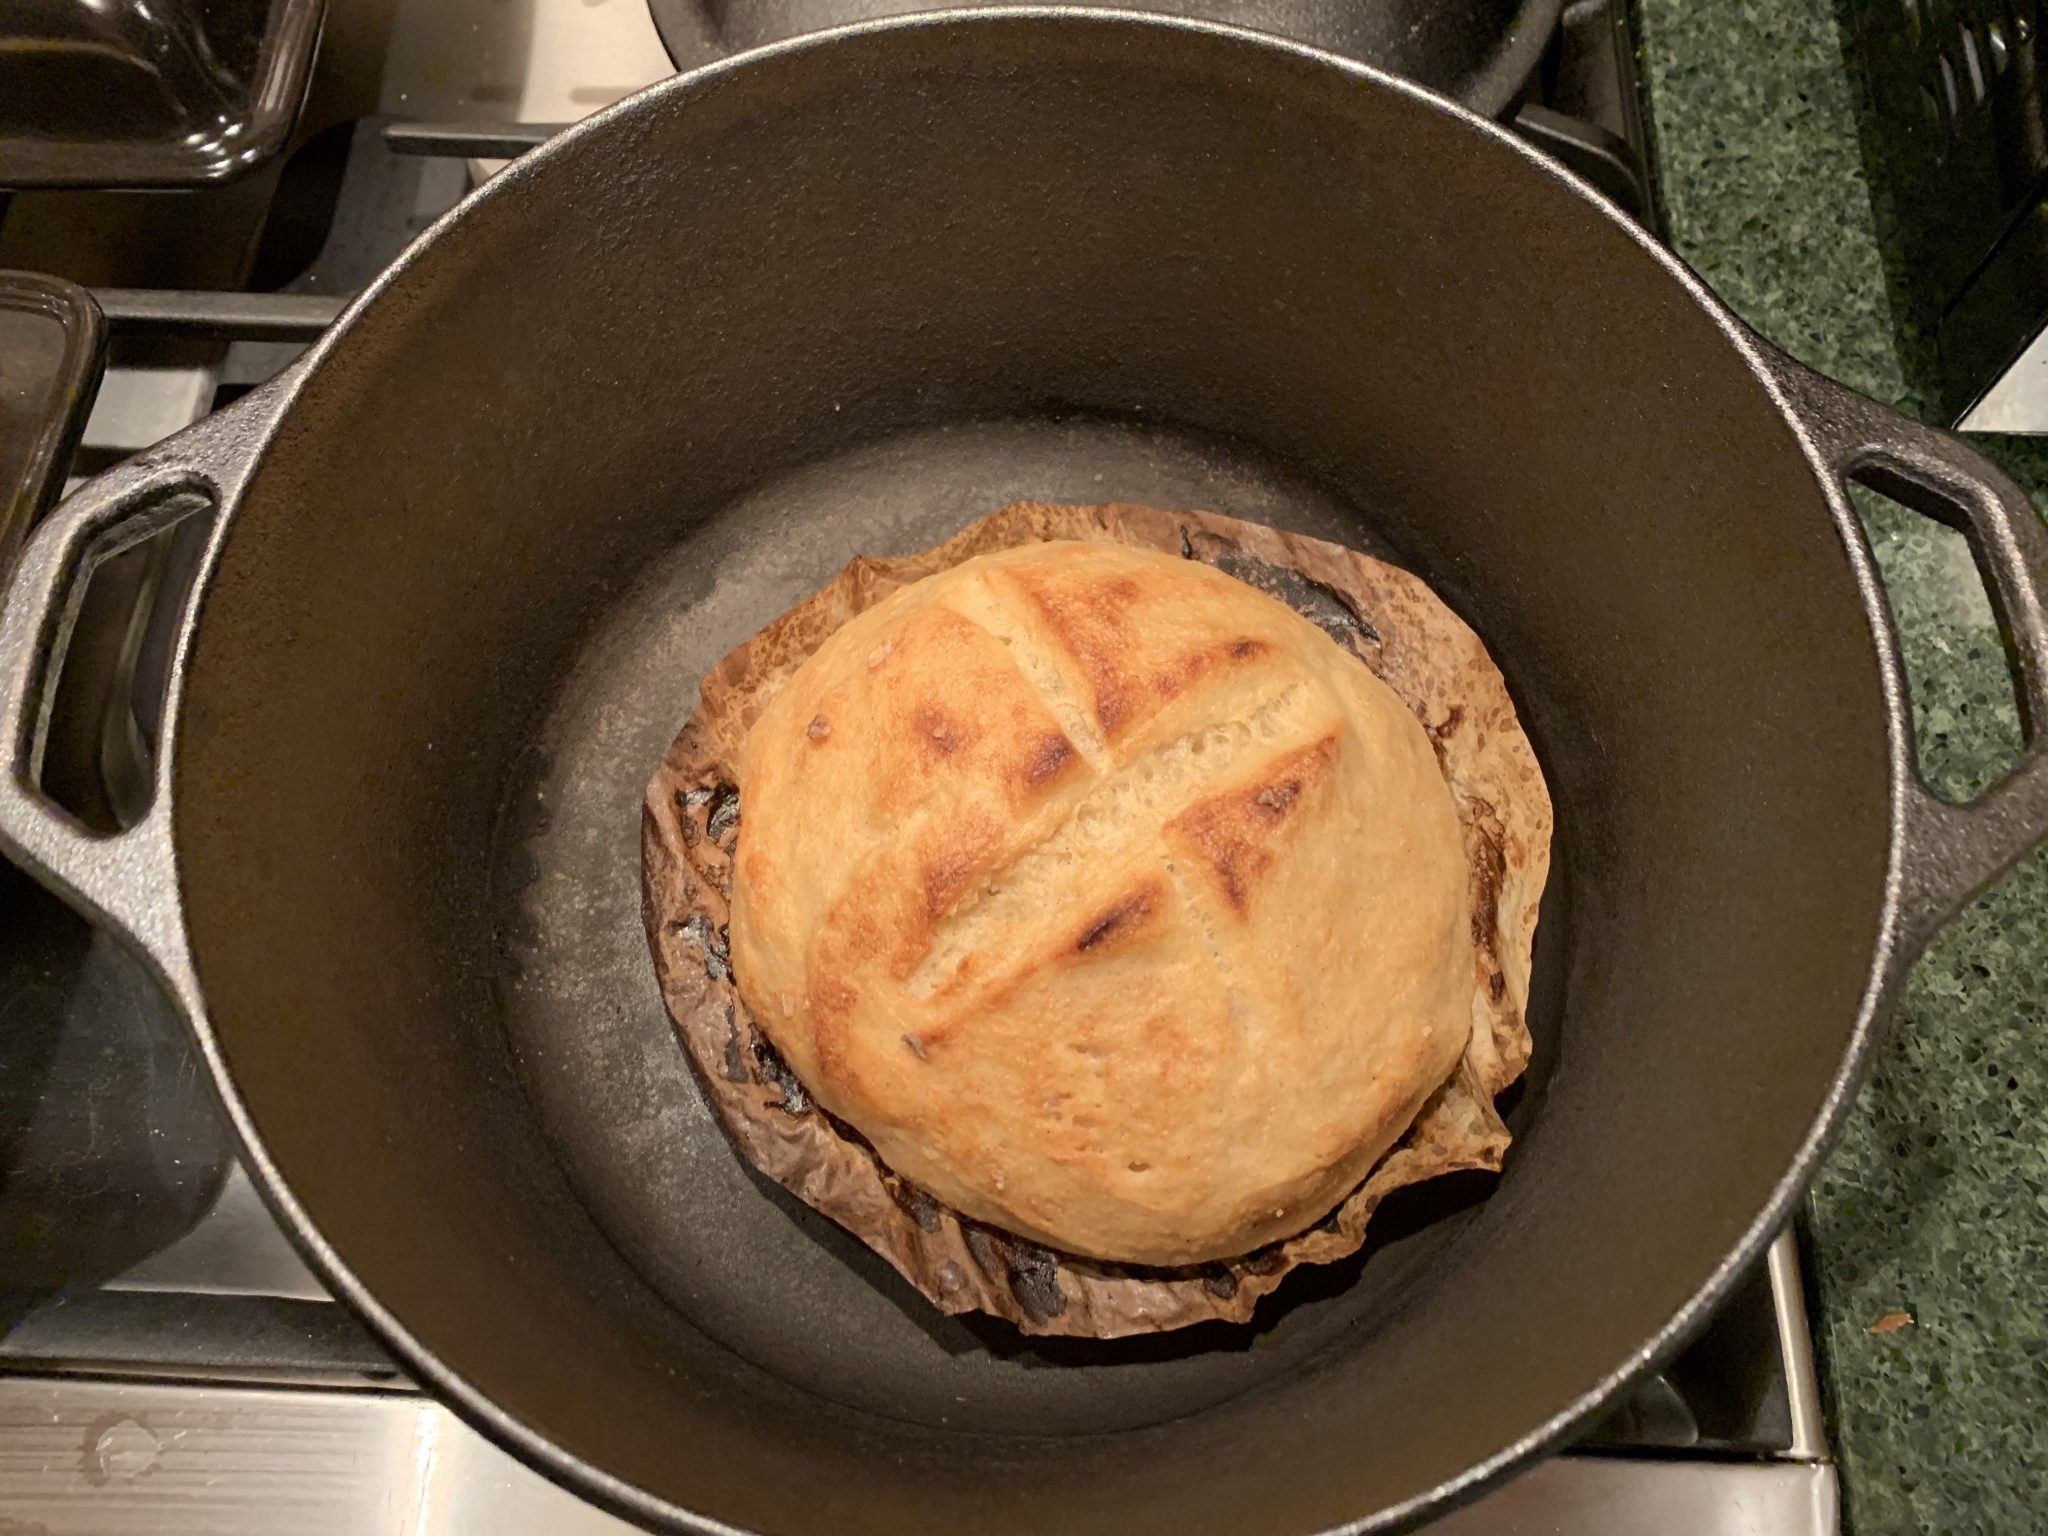
- Take the Dutch Oven out of the oven, plop the loaf (including parchment paper) into it, make sure no paper sticks out.
- Pour 1/3 cup boiling water on the bottom of the pan beside the bread and immediately put the lid on to keep the steam in. Use boiling water to avoid cooling the Dutch oven down too much. Be careful you don’t get burned by the steam– I wear baking mitts while doing this.
- Put the Dutch oven back into the oven and bake at 550F for 40 min.
- If baking a second boule, this is the time to form it. Take the second piece of dough, smooth it into a ball, place it on parchment, smooth it some more as before, and let it rest while the first boule is cooking.
- After 40 minutes, check the bread with an instant-read thermometer. The interior of the bread should be 210F. If it isn’t, put the lid back on and bake some more.
- When the loaf reaches 210F, if the top is not a golden brown, take the pan lid off and bake a few minutes more. You may need to place a little square of foil on the top of the boule to prevent the score area from burning.
- Finally, take the boule out of the oven and place on a baking rake to let it cool. It needs to cool several hours (ideally 8 hours) before slicing. If you slice it before it is cool, the interior will be gummy.
- Score the top of the second boule, add salt, place it in the Dutch oven, pour 1/3 cup boiling water in, close the lid, and bake for 40 minutes as you did the first boule.
Baguettes

This recipe makes good baguettes (or more precisely, ficelles) too. One 2-quart container of dough (one full recipe) makes three baguettes. I use the Emile Henry baguette baker pan which creates a wonderful crusty baguette, no water or steam needed– the pan creates its own steam for the crust. These crusty ficelles are great for bruschetta, hors d’oeuvres, or baguette sandwiches.
Make a recipe of dough using the instructions above and ferment it as usual.
When ready to bake the baguettes:
- Divide the 2-quarts of dough into thirds with a knife.
- Cut three pieces of parchment that will line the baguette pan compartments.
- With wet hands, shape a third of the dough into a baguette. Form the dough roughly into a fat cylinder, then put it on the parchment on the work surface.
- Then with a little more water, smooth the baguette’s surface.
- Now lift up the parchment and plop it into the baguette pan.
- Do the same with the remaining two pieces of dough.
- Heat the oven to 550F (or as high as your oven will go if it doesn’t go to 550F).
- Put the baguette pan’s lid on and let the dough rest for 45 minutes while the oven heats.
- After the 45 minute rest, use a sharp, wet chef knife to make diagonal scores in the baguette tops.
- Place the pan in the oven and bake for 40 minutes.
- After 40 minutes, check on the baguettes. If they are not brown on the top, remove the pan lid and bake for another 5-10 minutes until golden brown.
- When golden brown, take out of the oven and place on a baking rack to cool. Cool the baguettes for several hours (ideally 8 hours) before cutting.
Here’s a picture of my mom Erika and me– she has been a sourdough baker her whole life and taught me to bake sourdough bread when I was a child! Thanks Mom!